This section will demonstrate how to securely authenticate with your tokens, and setup your callback URL in order to handle Success & Error responses. The settings and steps described in this section can be found directly in your WhatsApp plugin dashboard.
Authentication
When using the API, your requests must be authenticated. This is crucial for security purposes and ensures that only authorized calls are being performed. This section will focus on this aspect and will explain how to generate these tokens, and how to use them within your request headers in order to authenticate your calls.
Token Generation
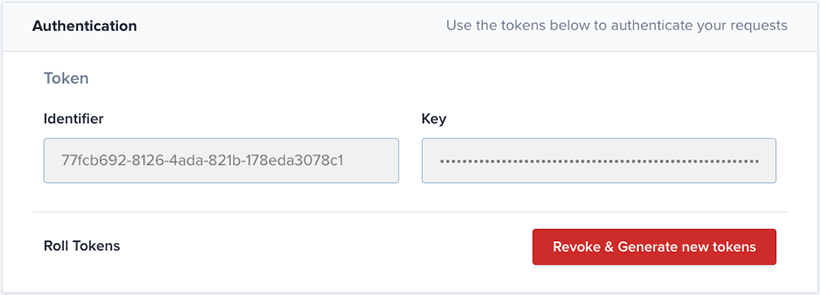
To start off with the WhatsApp Business Platform Cloud API, you first need to generate a token key pair in the API Tokens section of the WhatsApp plugin, this will allow you to authenticate against the API for all further requests. This token is to be re-used for each request you make to the WhatsApp Business Platform Cloud API. You will only see the token key once, so make sure you save it in a secure place for future calls.
Authentication Headers
You can authenticate your calls by adding the Authorization header to your HTTP requests. This header should be formatted in Basic Auth format, such as Basic BASE64(identifier:key) where you should replace BASE64(identifier:key) with you token encoded Base64 key string.
Example:
curl https://plugins.crisp.chat/urn:crisp.im:whatsapp:0/wa/api/website/{website_id}/templates?limit=1 \
  --get \
--user "{identifier}:{key}"identifier:key string to the ASCII Plain Text input and get your encoded string in the Base64 input.Callback URL - Errors and Success responses
The Callback URL will allow you to be notified of Errors and Success responses. When using the API to send message templates, you should configure a callback URL in order to receive a status response if the request was successful or failed. You can configure the URL in the API Settings.

Once you make a request and it is accepted by the WhatsApp plugin, you will receive a unique request_id in the data object of the response body and the system will attempt to send your message template. For each accepted request you make, you will also receive a webhook to your callback URL with the status of your message and the request_id included as a reference.
If the template was successfully sent, the payload to your callback URL will include a crisp_fingerprint, whatsapp_message_id and the session_id of the conversation. Otherwise, there will be a message to describe why your template was not sent.